How to Solder Electronics: A Beginner's Complete Guide
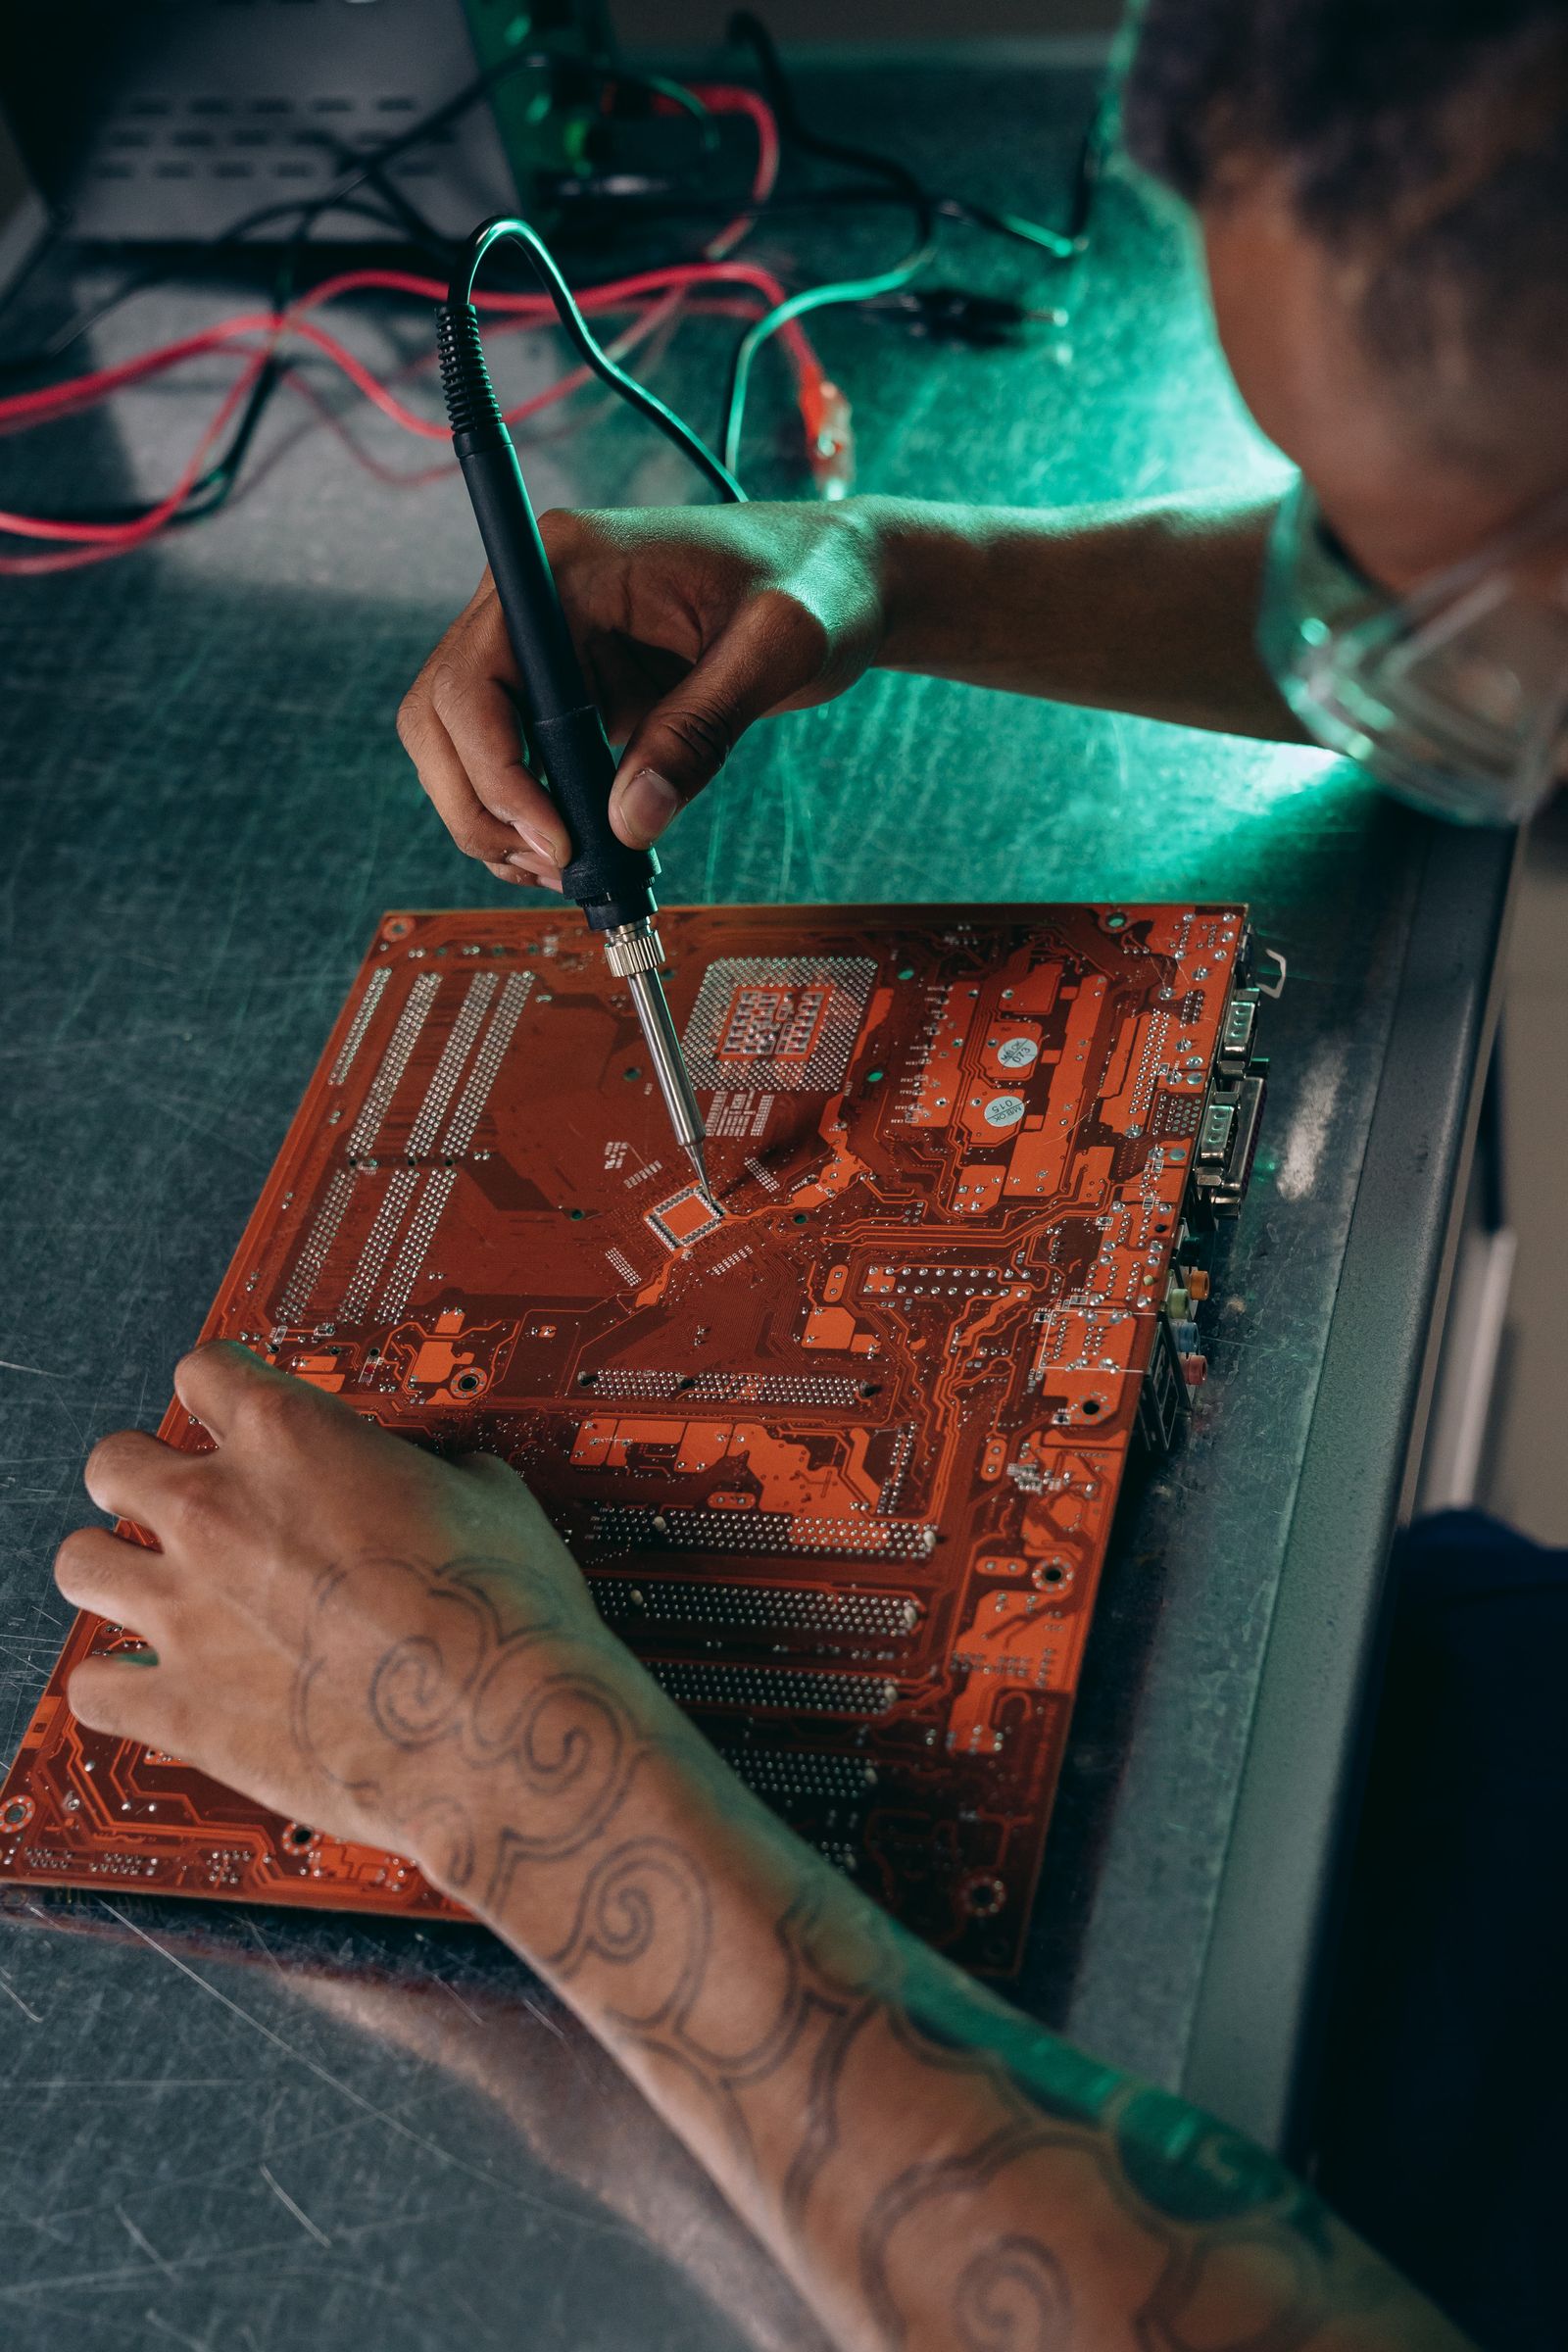
What soldering actually is (and is not)
Soldering joins metal parts by melting a filler alloy — solder — around them. Unlike welding, the parts themselves never melt; the solder flows between them and solidifies into both an electrical and a mechanical connection. Think of it less like glue and more like a metal that freezes around the joint. Every electronic device you own — your phone, your TV remote, an Arduino board — is held together by thousands of solder joints, which is why this one skill unlocks nearly all DIY electronics repair and building.
The reason solder works is chemistry, not just heat. Bare metal surfaces are always coated in a thin layer of oxide that molten solder refuses to stick to. Flux — the chemical core inside electronics solder wire, or applied separately — strips that oxide away at temperature and lets the solder "wet" the metal, flowing into every crevice. This is why beginners who skip flux end up with beads of solder sitting on top of a pad instead of bonding to it: the solder was fine, the chemistry was missing. When a joint will not take solder, reach for flux before you reach for more heat.
Two solder families dominate the hobby world. Leaded solder (typically 63/37 tin-lead) melts at a forgiving 183°C, flows beautifully, and is the easiest to learn on — but it contains lead, so you wash your hands after handling it and keep it away from children. Lead-free solder (usually a tin-silver-copper alloy like SAC305) is safer to handle but melts hotter, around 217°C, and is fussier about flux and technique. For your first practice sessions, leaded 63/37 rosin-core solder in 0.6 to 0.8 mm diameter is the friendliest choice; you can switch to lead-free once your technique is solid. Either way, the visible fumes are mostly vaporized flux, not lead — but ventilate regardless.
The tools and materials you actually need
You do not need an expensive station to start, but you do need an iron with adjustable temperature. A fixed-wattage bargain iron either runs too cool to melt solder properly or too hot to avoid cooking components; a 60-watt station with a dial or digital readout, set around 320–350°C for leaded solder, removes most beginner frustration at the source. Pair it with a chisel-shaped tip (about 1.6–2.4 mm wide), which transfers heat far better than a needle-point tip on real joints. And keep the iron in its stand whenever your hand is not on it — that one habit prevents most burns.
The rest of the kit is small and cheap. Rosin-core solder wire in 0.6–0.8 mm diameter is your main material; a flux pen or a small tub of no-clean flux paste fixes half of all beginner problems instantly. A brass wool ball (or a damp cellulose sponge) cleans the tip before every joint, and keeping the tip shiny and tinned is the single highest-leverage habit in all of soldering. Add a "helping hands" holder or PCB vise to keep work still, flush-cut wire cutters to trim leads, fine tweezers for small parts, and a multimeter to verify your joints with the continuity beeper afterward.
Safety gear is short but non-negotiable: safety glasses (solder can spit, especially when a trapped air pocket pops), and real ventilation — a window plus a small fan blowing fumes away from your face, or an inexpensive fume extractor if you solder weekly. A silicone heat-resistant mat protects your desk and catches drips. A solid starter kit runs about $40–70 in total, and nearly all of it lasts for years; the only consumables are solder, flux, and eventually replacement tips.
Set up a safe workspace first
Soldering is a low-risk activity with good habits and an unpleasant one without them. Work in a ventilated area on a stable, heat-proof surface, with nothing flammable within arm's reach. Plug the iron into its stand and make it a rule: the iron is either in your hand or in the stand — never laid on the desk, never left heating while you answer the door. A tip at 320–350°C will brand skin, melt plastic, and start fabric smoldering on contact; treat it with the same respect as a hot stove burner.
About lead: at soldering temperatures lead does not vaporize in any meaningful amount, so the visible smoke is flux vapor — irritating to lungs and eyes, but not lead. The real lead risk is hand-to-mouth: if you use leaded solder, do not eat, drink, or rub your face while working, and wash your hands thoroughly when you finish. If that sounds like too much fuss, use lead-free solder and the concern disappears (at the cost of slightly trickier technique). Keep solder, flux, and the iron out of reach of children and pets, and unplug the iron when you are done — a forgotten iron is the one genuine fire risk in this hobby.
Organize for flow before you heat up. Lay out solder, flux, cutters, and the board within easy reach so you never carry a hot iron across the desk. Secure the workpiece so both hands are free: a helping-hands clip, a small vise, or even a blob of poster putty holding a PCB flat. Good light matters more than you think — a cheap desk lamp or headlamp reveals whether a joint is shiny and complete or dull and suspect. A calm, organized two square feet of desk beats a fancy iron in a cluttered one, every time.
The technique: making your first good joint
Every good joint follows the same five-second choreography. First, clean and tin the tip: wipe it on the brass wool, then melt a tiny bit of fresh solder onto it until it looks shiny — this "tinning" is what transfers heat into the joint. Second, touch the tinned tip to both parts of the joint at once — the component lead and the copper pad, or the two wires — and hold for one to two seconds. You are heating the joint, not melting solder onto the iron. Third, feed the solder wire into the heated joint, not onto the iron tip; it should melt on contact and flow around the connection. Fourth, remove the solder wire first, then lift the iron away. Fifth, hold perfectly still for a few seconds while the joint cools.
A finished through-hole joint should look like a small shiny volcano: smooth and slightly concave, with the solder climbing a little way up the lead and feathering out onto the pad. Dull, grainy, or blobby means something went wrong — almost always insufficient heat or a moved joint — and you will learn to spot the difference within an evening. Total contact time is typically two to four seconds; much longer and you risk cooking the component or lifting the copper pad off the board, especially on cheap PCBs. If the solder will not flow, do not just hold the iron there longer — clean and re-tin the tip, add a touch of flux, and try again with fresh heat transfer.
Two extra moves complete the basics. Tinning a stranded wire — heating the stripped end and flowing a thin coat of solder into the strands — keeps it from fraying and makes every later joint easier. And always trim: after the joint cools, snip the excess component lead just above the solder with flush cutters, holding the loose end so it does not fly across the room. A trimmed, shiny, cone-shaped joint that passes the multimeter's continuity beep is the definition of done.
Beginner mistakes and how to fix each one
The cold joint is the classic beginner failure: solder that melted onto the parts without the parts ever getting hot enough, leaving a dull, cracked-looking, unreliable connection. It happens when you melt solder onto the iron and dab it on, or pull away too soon. The fix is rework: add flux, reheat the joint properly with a clean tinned tip until the solder reflows shiny, then let it cool undisturbed. If a joint ever looks dull and lumpy, assume it is cold and reflow it — a cold joint can work for weeks and then fail mysteriously at the worst moment.
Too much solder is the second plague: a big blob that hides the joint instead of a neat cone. Blobs bridge to neighboring pads and cause shorts, so less is genuinely more. The cure is desoldering braid (solder wick): lay the braided copper over the excess, press the hot iron onto it, and watch the braid drink up the surplus. A spring-loaded solder sucker does the same job by vacuuming molten solder away. Both cost a few dollars and belong in every beginner kit, because being able to undo a joint removes the fear that freezes beginners in place.
The remaining mistakes are all habit-level. Solder bridges — accidental connections between adjacent pins — come from too much solder or a dragging iron; wick them up with braid. Lifted pads come from overheating or yanking a component while the solder is molten; use shorter dwell time and never force parts. Disturbing the joint while it cools creates a fractured, unreliable connection, so train yourself to freeze for three seconds after the iron lifts. And an oxidized black tip that will not take solder is not broken — wipe it on brass wool, tin it fresh, and it comes back to life. Nearly every "I'm bad at soldering" story is really one of these five, and all five are fixable.
Practice drills that build real skill fast
Do not practice on a project you care about. Start on scrap: strip two pieces of wire, twist them together, tin the iron, and solder the splice until the joint is shiny and smooth — then tug it hard. A good joint survives the tug. Next, tin a dozen stripped wire ends in a row; when each one takes solder in under three seconds with a bright finish, your heat-transfer instincts are calibrated. These two drills teach more than any video, because soldering is a hand skill and your hands need the repetitions.
Graduate to a scrap circuit board or a few cents' worth of perfboard: solder a row of pin headers, then a resistor or two, checking each joint against the "shiny volcano" standard and beeping it out with your multimeter afterward. Then build something real and simple — an LED with the correct current-limiting resistor on perfboard, powered by a 9V battery, is the traditional first project and takes under an hour. Kits marketed as "learn to solder" practice boards, with rows of LEDs that light up when every joint is good, are excellent because they give instant feedback on every single joint.
From there the path opens up: repairing a broken headphone cable, replacing a worn charging port, assembling an Arduino sensor shield, or building any of the small kits sold for a few dollars online. Keep your first attempts slow and deliberate — speed comes from clean technique, not from rushing. Within a few evenings of practice you will be making joints you would proudly photograph, and every future electronics project gets easier, because the assembly step stops being the scary part.