How to Wire a Three-Way Light Switch: A Beginner's Step-by-Step Guide
What a three-way switch actually is
Despite the name, a three-way switch has nothing to do with controlling three lights. The "three" refers to its three terminals: one common screw and two traveler screws. A regular single-pole switch has just two terminals and simply opens or closes one path. A three-way switch flips the path between two routes, which is what lets a second switch override the first.
Here is the mental model that makes everything click. Imagine the light's hot wire taking a fork in the road at the first switch. The first switch sends power down either traveler wire A or traveler wire B. The second switch picks up those same two travelers and connects one of them onward to the light. The light turns on only when both switches happen to be lined up on the same traveler. That is the whole trick: neither switch is ever really "off"; each one just chooses a path.
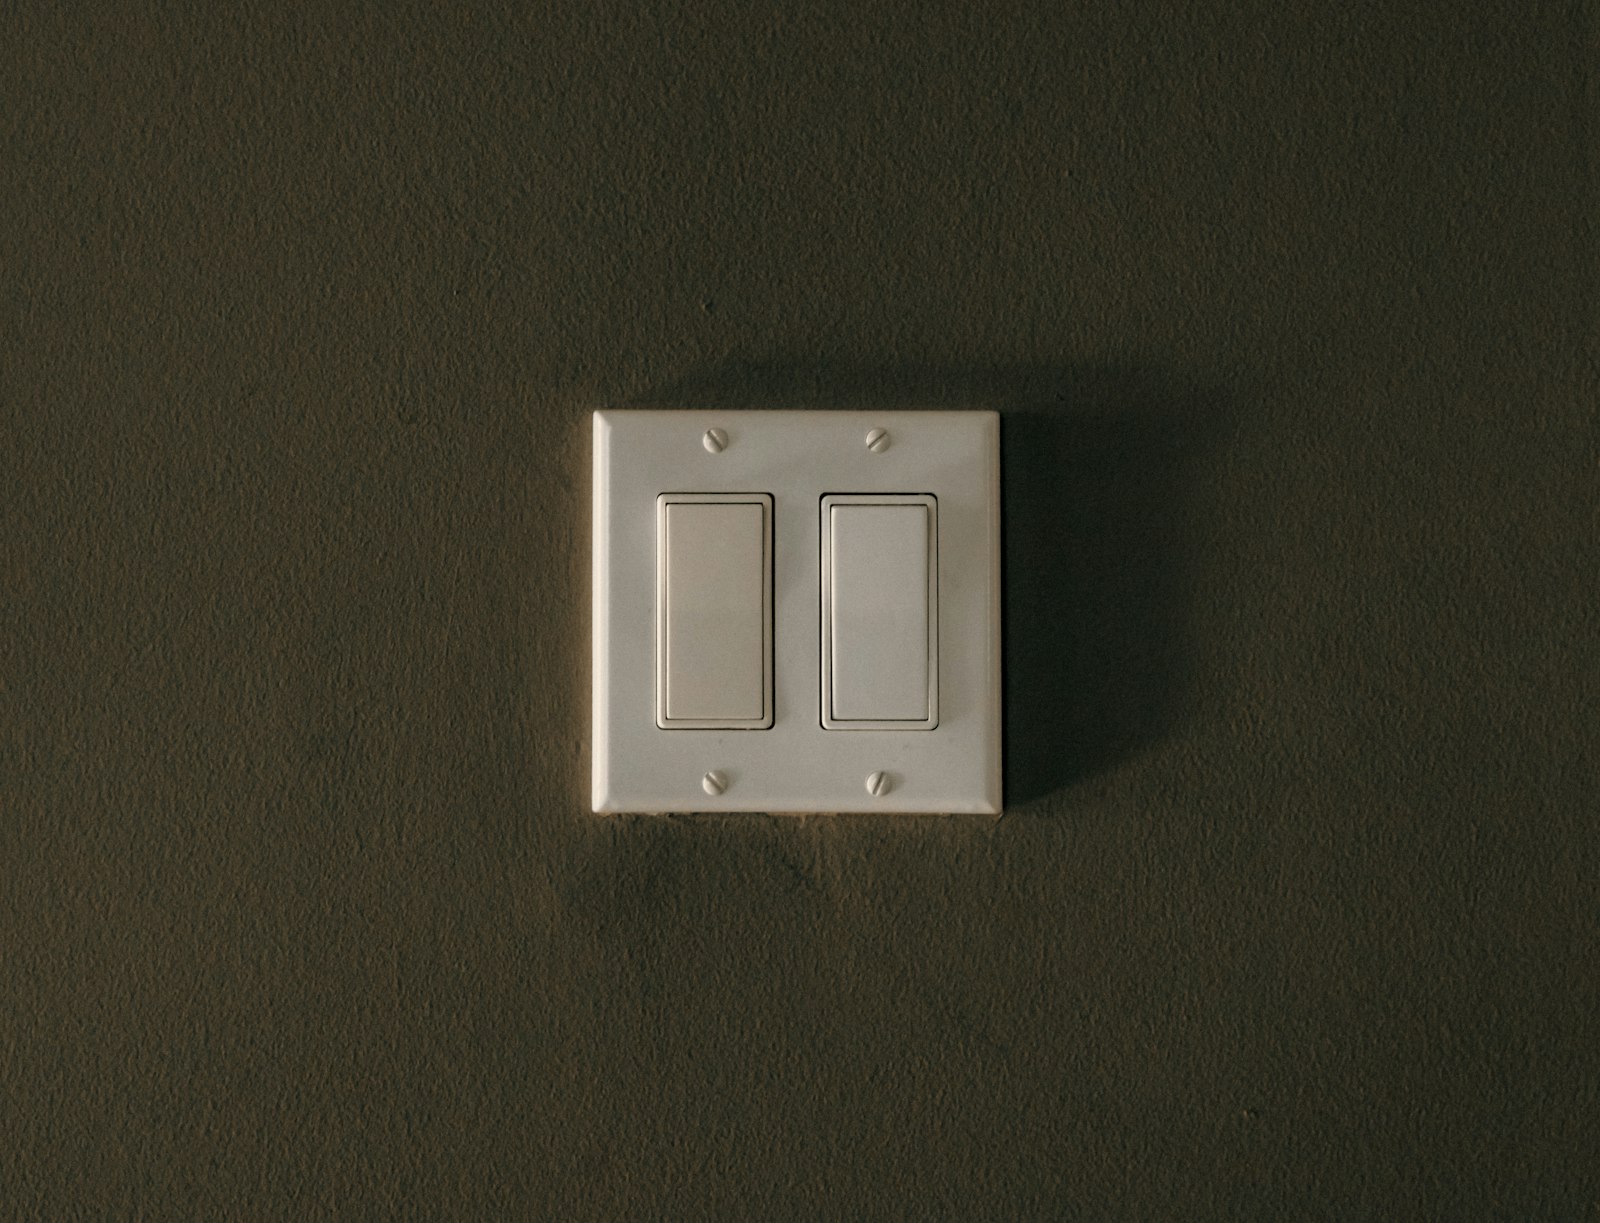
Three-way setups live anywhere you enter a space from two directions. Stairways are the classic example, with one switch at the top and one at the bottom. Long hallways, large living rooms with two doorways, and attached garages are other common spots. You can spot a three-way switch in the wild by its terminals: three brass or dark screws plus a green ground screw, and often no "ON" or "OFF" markings on the toggle, since the position no longer means anything by itself.
Tools and materials you'll need
Gather everything before you kill the power, because trips back to the hardware store with the lights off are miserable. The must-haves: a non-contact voltage tester, wire strippers, a flathead and Phillips screwdriver, needle-nose pliers, wire nuts (the right size for the wires you are joining), and electrical tape. A headlamp is worth its weight in gold once the circuit is dead. A basic multimeter is optional but useful if you want to double-check continuity on the traveler pairs.
For materials you need two three-way switches (not single-pole, check the box), three-conductor cable with ground: 14/3 NM cable on a 15-amp circuit or 12/3 on a 20-amp circuit. The cable holds black, red, and white conductors plus a bare ground wire, and the red is what makes it a three-way run. Never upsize the breaker to match the wire you bought; match the wire to the existing breaker. You will also want wire nuts, and make sure both electrical boxes have enough cubic-inch capacity for the extra conductors: each conductor, device, and clamp counts toward box fill, and cramming wires into an undersized box is both a code violation and a fire risk.
One more thing to verify up front: how the circuit is currently fed. The simplest layout, and the one this guide follows, has power entering at the first switch box, then a three-conductor run to the second switch box, then two-conductor cable from the second box to the light. If your boxes are wired differently, say power arrives at the light fixture first, the wiring logic is the same but the wire routes change. Sketch what you have, label every cable, and photograph the existing connections before you disconnect a single wire nut.
Safety first: the rules you don't bend
This section is not optional, and it is not filler. Turn off the breaker for the circuit at the panel, not just the switch you are replacing, and tell everyone in the house what you are doing. Then verify the wires are dead with your non-contact tester, testing the tester first on a known live circuit so you know it is working. Check every conductor in every box you will touch, because a single box can hold wires from more than one circuit.
Keep your hands dry, stand on a dry surface, and when you are near the open panel, work with one hand and keep the other away from anything grounded. Never trust wire colors alone: in older homes, paint-covered wires, borrowed neutrals, and creative previous owners are common, and the only truth is what your tester tells you. If you open a box and find aluminum wiring, knob-and-tube, cloth-insulated wire, or no ground at all, stop and call a licensed electrician. The same applies if the panel work goes beyond flipping breakers: with the main off, the service lugs feeding it are still live.
Set your stop conditions before you start. You call an electrician if the breaker trips the moment you restore power, if you smell burning or see scorch marks in any box, if the wiring does not match anything in this guide, or simply if you feel unsure at any point. There is no shame in that call, and it costs far less than a house fire. Switch wiring is a great beginner project precisely when you respect the boundaries; it becomes a dangerous one when you do not.
Step by step: wiring a three-way circuit
With the power off and verified dead, start by identifying your wires. In the first switch box, find the incoming hot from the panel: it is the black wire on the two-conductor cable coming from the direction of the panel. In the second switch box, find the black wire leaving toward the light fixture. Between the two boxes runs your three-conductor cable: black, red, white, plus ground. Mark the cables with tape flags as you go, because after two trips across the room they all start to look alike.
Wire the first switch. Connect the incoming hot (the line wire from the panel) to the common terminal: on most switches this is the odd-colored screw, often black or dark bronze, and sometimes stamped "COM". Connect the black and red wires from the three-conductor cable to the two traveler terminals, the brass screws. It does not matter which traveler goes to which brass screw, only that both travelers land on brass at both ends. Join all the white neutrals together in this box with a wire nut, since the neutrals pass straight through to the fixture and never connect to a three-way switch. Connect all the bare grounds together and pigtail one to the green ground screw on the switch.
Wire the second switch the same way, mirrored. The two travelers from the three-conductor cable go to the brass screws. The black wire leaving toward the light fixture connects to the common terminal. Again, neutrals all tie together and bypass the switch, and all grounds tie together with a pigtail to the green screw. At the fixture box, the black wire from the second switch lands on the fixture's hot lead, the white lands on the neutral lead, and the ground ties to the fixture's ground.
Now fold the wires in carefully. Use the back of your pliers to accordion-fold the conductors so no sharp bend sits against a screw, and make sure no bare copper is exposed outside the terminals or wire nuts. Mount the switches, install the plates, and turn the breaker back on. Test thoroughly: flip the light on and off from the first switch, then walk to the second switch and flip it on and off, then repeat a few times in combination. A correctly wired three-way light responds to either switch regardless of the other switch's position. If a switch only works when the other is in a certain position, your common and traveler wires are swapped at one end, so kill the power and re-check which screw is the common.
Common variations and troubleshooting
The layout above, power to the first switch, is the easiest to understand, but you will also run into power-to-the-light-first setups in older homes. The switching logic is identical; what changes is which box holds the incoming line hot. If your incoming power cable arrives at the fixture box instead of a switch box, the white wire in the three-conductor run may be used as a hot traveler or switch leg, and the electrical code requires you to re-identify it with black or red tape at both ends so nobody mistakes it for a neutral. When in doubt about a variation, draw the circuit on paper before touching anything.
Want to control the light from three or more locations? Add a four-way switch between the two three-way switches. A four-way has four terminals and simply swaps the travelers, so each extra location gets one four-way wired in series on the traveler pair. This is how big open-plan rooms and very long hallways get three, four, or even five switching points for one light.
Most three-way problems trace back to one of three mistakes. First, a traveler and the common swapped at one switch: the light works, but only when the switches are in a matching combination. Second, the line hot and the load wire swapped between the two boxes: usually still works, but the fixture's hot lead ends up being switched at the wrong end, and troubleshooting gets confusing. Third, and most dangerous, is a floating or disconnected neutral: the light behaves erratically or dimly. If restoring power trips the breaker instantly, stop immediately and call an electrician; that means a short somewhere, and repeatedly resetting a breaker that trips instantly can damage the panel. Three-way wiring rewards patience: label everything, verify dead twice, and test from both locations when you are done.
🛒 Parts you'll need for this project
Hand-picked gear that matches this guide — buying through these links supports the site at no extra cost to you.
- Filluck 945pcs Crimping Tool Kit (ratcheting crimper + terminals)Pro-grade crimped terminals for every wiring job — no more twisted, taped connections.
- AstroAI Digital Clamp Meter TRMS 6000 Counts (CM600)Clamp around any wire for an instant current reading — the fastest way to diagnose overloads and faults.
As an Amazon Associate we earn from qualifying purchases.