Wire Nuts vs Wago Lever Connectors: Which One Should You Use?
What a Wire Splice Has to Do (and Why It Matters)
A wire splice has two jobs, and it has to do both perfectly. First, it must hold the conductors together mechanically so they cannot pull apart from vibration, thermal expansion, or someone tugging a cable in a crowded box. Second, it must create a low-resistance electrical path between them so current flows cleanly with no hotspots.
Why does this matter so much? Because a loose connection is one of the most dangerous things in home wiring. When a splice loosens, resistance at the contact point rises, the spot heats up, and in bad cases it arcs, throwing off tiny sparks and extreme heat. Loose and overheated connections are a leading cause of residential electrical fires, and the splice buried inside a junction box is exactly where they hide. The connector you choose is your insurance against that.
A quick code note before we go further: in the US, the National Electrical Code requires every splice to live inside an approved electrical box or enclosure, and that box must remain accessible (NEC 314.29). No splices floating free in a wall cavity, no twisted wires wrapped in tape behind drywall. Whatever connector you pick, it goes inside a box with a cover on it. If that sentence surprises you, the safest move is to call a licensed electrician before touching anything.
Wire Nuts: The Century-Old Classic
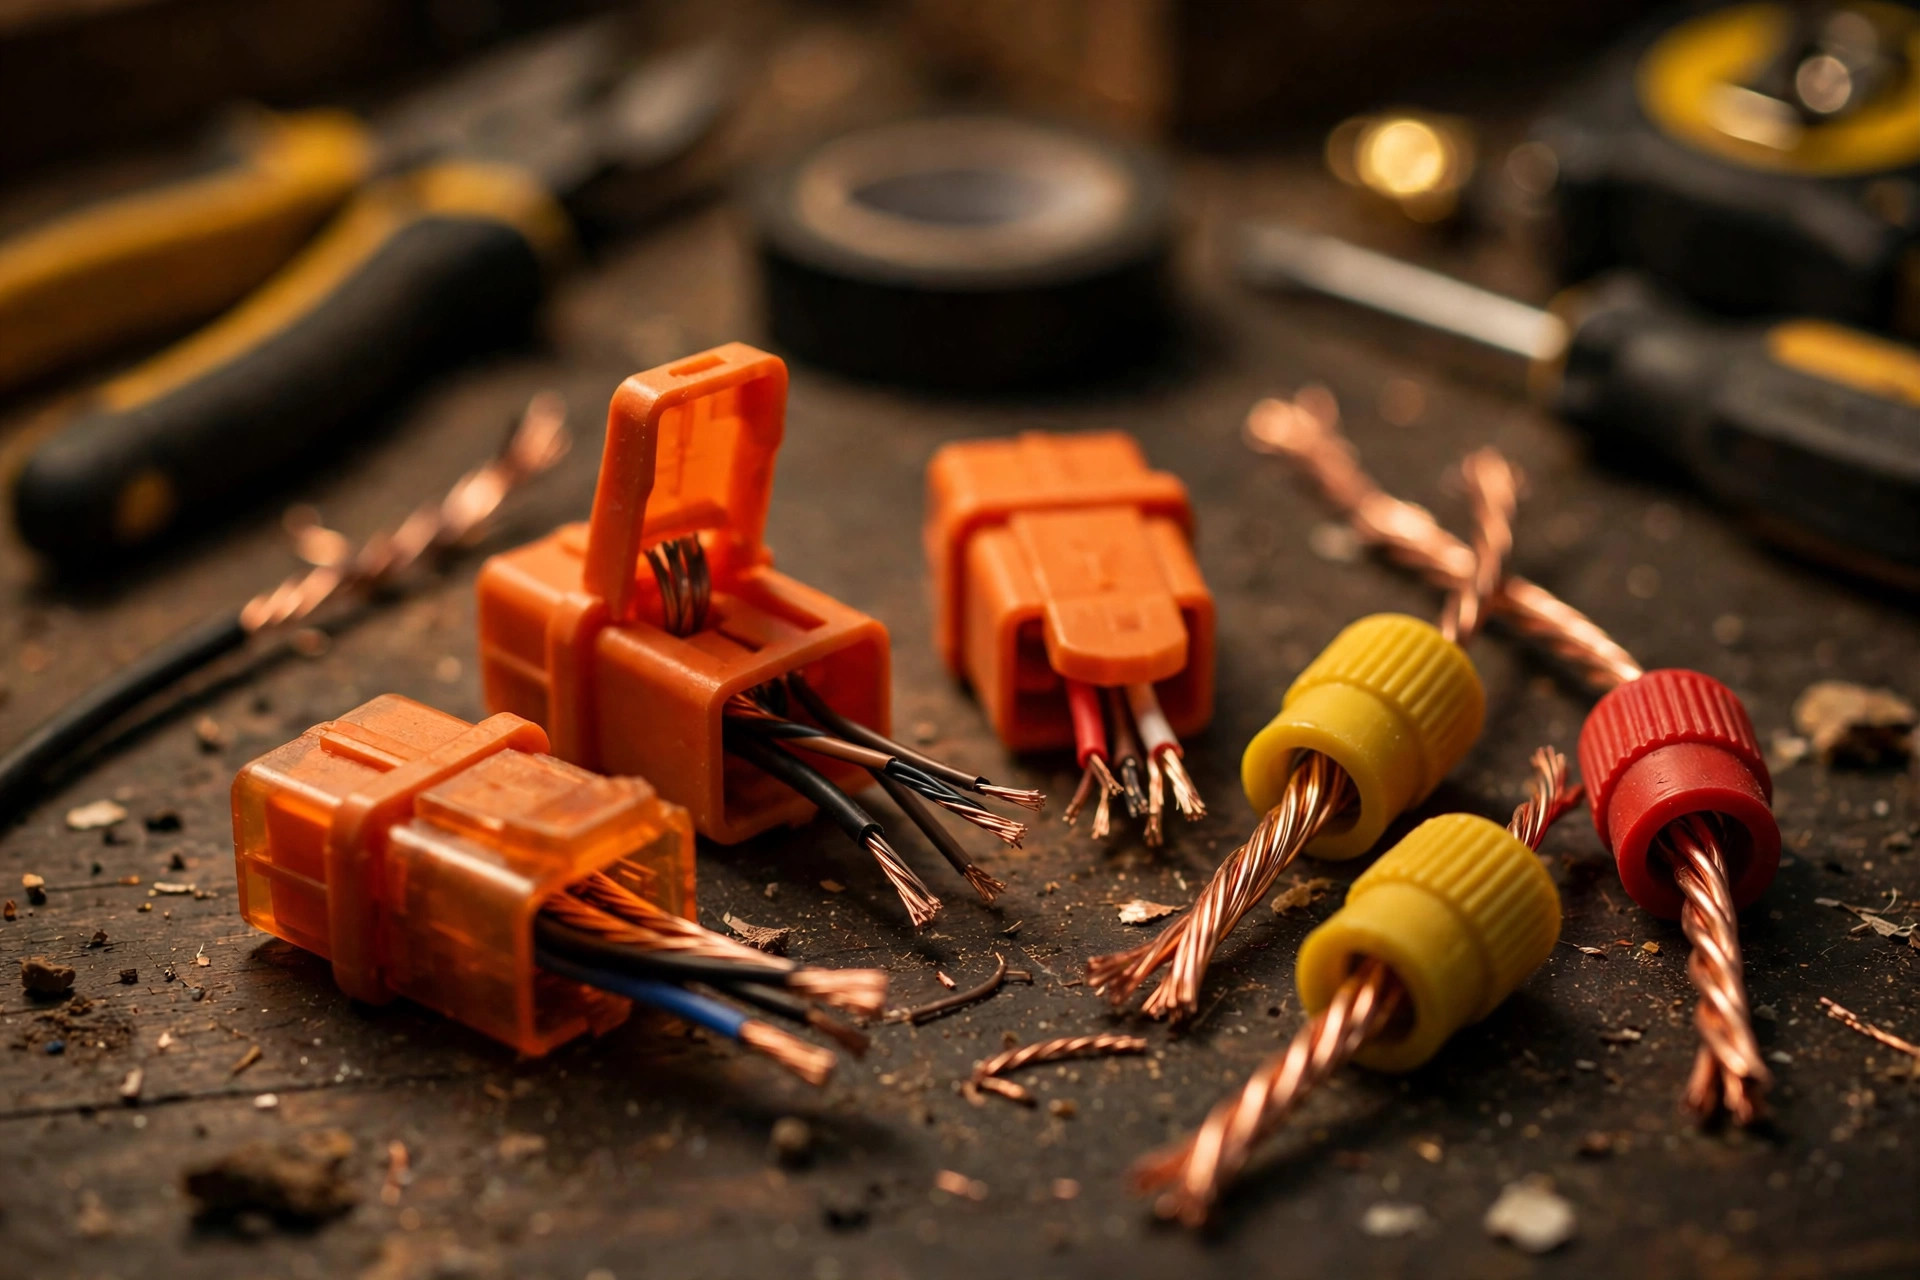
Wire nuts, also called twist-on connectors, are the classic. They date back more than a century: an insulating plastic cap containing a tapered metal coil spring. You strip the conductor ends, hold them parallel or slightly twisted together, and screw the cap on clockwise. As you turn, the spring bites into the copper, drawing the conductors into a tight coil. A good wire nut connection is genuinely excellent – gas-tight, strong, and long-lived.
The catch is that last sentence: a GOOD connection. Wire nuts are colour-coded by size, and picking the right one matters. Grey, blue, orange, yellow, and red caps each cover specific combinations of wire gauge and conductor count, and the packaging has a chart. A nut that is too large will feel snug but leave the wires barely gripped; too small and the bare copper pokes out of the bottom, or the cap bottoms out before it tightens. Neither is acceptable.
Beginners go wrong in a handful of predictable ways. The most common is under-stripping: barely any bare copper inside the cap, so the spring grips insulation instead of wire. Next is skipping the tug test – after fitting, you should pull each conductor firmly to confirm it is locked in. Then there is mixing solid and stranded wire badly: stranded conductors can splay or slip if you do not twist them neatly with the solid ones first. And many people overtwist or undertwist. Opinions differ on pre-twisting (some manufacturers say their nuts do not need it, many electricians still pre-twist solid conductors), but everyone agrees the finished joint should feel rock solid, with no bare copper visible outside the cap and no wiggle when tugged.
Where wire nuts shine is price and availability. A single nut costs a few cents to about fifteen cents, and every hardware store on earth stocks them. For a budget rewiring job with dozens of splices, that adds up to real savings. They are also the tool every inspector knows, which removes any awkward conversations during an inspection.
Wago Lever Connectors: The Modern Alternative
Wago lever connectors, most famously the 221 series, take a completely different approach. There is no twisting and no cap to screw on. You strip each conductor to the marked length (11 millimetres, or about 7/16 of an inch), lift the little orange lever, push the wire straight into the port, and flip the lever down. A spring clamp locks the conductor in place with constant pressure. Do that for each conductor and the splice is done. The whole operation takes seconds.
The design solves several beginner problems at once. Because each conductor gets its own port, you never have to twist solid and stranded wire together – the connector accepts solid, stranded, and fine-stranded conductors in any combination. The transparent housing lets you see that each wire is fully inserted to the correct depth, which removes the guesswork that plagues wire nut installs. And each unit has two test ports, so you can probe the circuit with a multimeter later without disturbing the connection.
They are properly certified, not some import-shop gadget: the 221 series is UL 486C listed, rated for 600 volts and 20 amps, accepting 24 to 12 AWG wire. There is also a 221-615 version rated for 10 AWG at 30 amps for heavier circuits. One more practical win: lever connectors are reusable. Flip the lever back up and the wire slides out undamaged, so adding a conductor later or correcting a mistake costs nothing and wastes no wire. Try that with a wire nut and you will be cutting off a twisted stub and starting over.
The downside is cost. Expect roughly seventy cents to a dollar per connector versus a few cents for a wire nut. On a single outlet replacement that is pocket change; on a whole-house rewire with hundreds of splices, the difference is noticeable.
Head to Head: Reliability, Cost, Speed, and Box Fill
So which is actually better? Let us break it down across the factors that matter.
Reliability: when both are installed perfectly, both are safe and code-compliant. Independent resistance and heat-rise tests generally show a perfectly installed wire nut performs about as well as, or marginally better than, a lever connector. But that "perfectly installed" is doing a lot of work. In the real world, connection failures are almost always installer error – undertwisted nuts, wrong sizes, splayed stranded wire – and the lever connector is far more forgiving of imperfect technique. For a beginner, that forgiveness is a genuine safety advantage.
Cost: wire nuts win easily, roughly ten times cheaper per connection. If you are splicing a hundred joints on a tight budget, that is the difference between a few dollars and the better part of a hundred.
Speed: Wago wins by a mile. No twisting, no fumbling with the right colour cap, seconds per conductor. Electricians doing retrofit work in finished homes love them for this alone.
Box fill: Wagos are compact, and a tidier splice cluster means less crowding when you fold everything back into the box. That said, you still have to respect box-fill calculations – every conductor and device counts toward the box's volume limit under NEC 314.16, regardless of connector type. A crammed box is a code violation with either connector.
Inspection and future changes: another clear win for the lever connector. The transparent body and test ports make verification easy, and reusability means adding a wire later is trivial. A wire nut gives you no visual feedback once installed, and changing the splice means cutting and redoing it.
One related note: do not confuse lever connectors with cheap push-in "backstab" connectors. Push-in connectors (where you just shove a wire into a hole with no lever) have a poor reputation among electricians for long-term reliability, and some are not even listed for reuse or stranded wire. Lever connectors are a different, far more reliable product.
Which Should You Choose? (Plus the Safety Rules)
Here is the practical verdict. Choose Wago lever connectors if you are a beginner, if you are working in an already-crowded box, if you are mixing solid and stranded conductors, or if you expect to add or change wires later. The ease of use, visual confirmation, and forgiving nature make them the safer choice for most DIYers.
Choose wire nuts if you are on a tight budget with lots of simple solid-to-solid splices, if you are confident in your twisting technique, or if you want the most universally recognised connector for inspection purposes. There is nothing wrong with a wire nut installed correctly – a century of electricians cannot be wrong.
What you should never do, regardless of connector: make bare twisted splices covered only in electrical tape (not code compliant and genuinely dangerous), reuse a wire nut (the spring weakens after the first install), leave bare copper exposed outside the connector, or bury any splice where it cannot be accessed.
And the safety rules are non-negotiable. Before opening any box, turn off the breaker for that circuit, then verify the wires are dead with a non-contact voltage tester and, ideally, a multimeter. Test your tester on a known live circuit first so you know it works. Wear safety glasses, keep one hand in your pocket when probing live-adjacent work is not possible (better yet, do not work near anything live), and give every finished connection a firm tug test before closing the box. If you find aluminium wiring, knob-and-tube, a scorched box, or anything that does not match what this guide describes, stop and call a licensed electrician. Knowing when not to DIY is the most important electrical skill of all.