How to Install a Dimmer Switch: A Beginner's Step-by-Step Guide
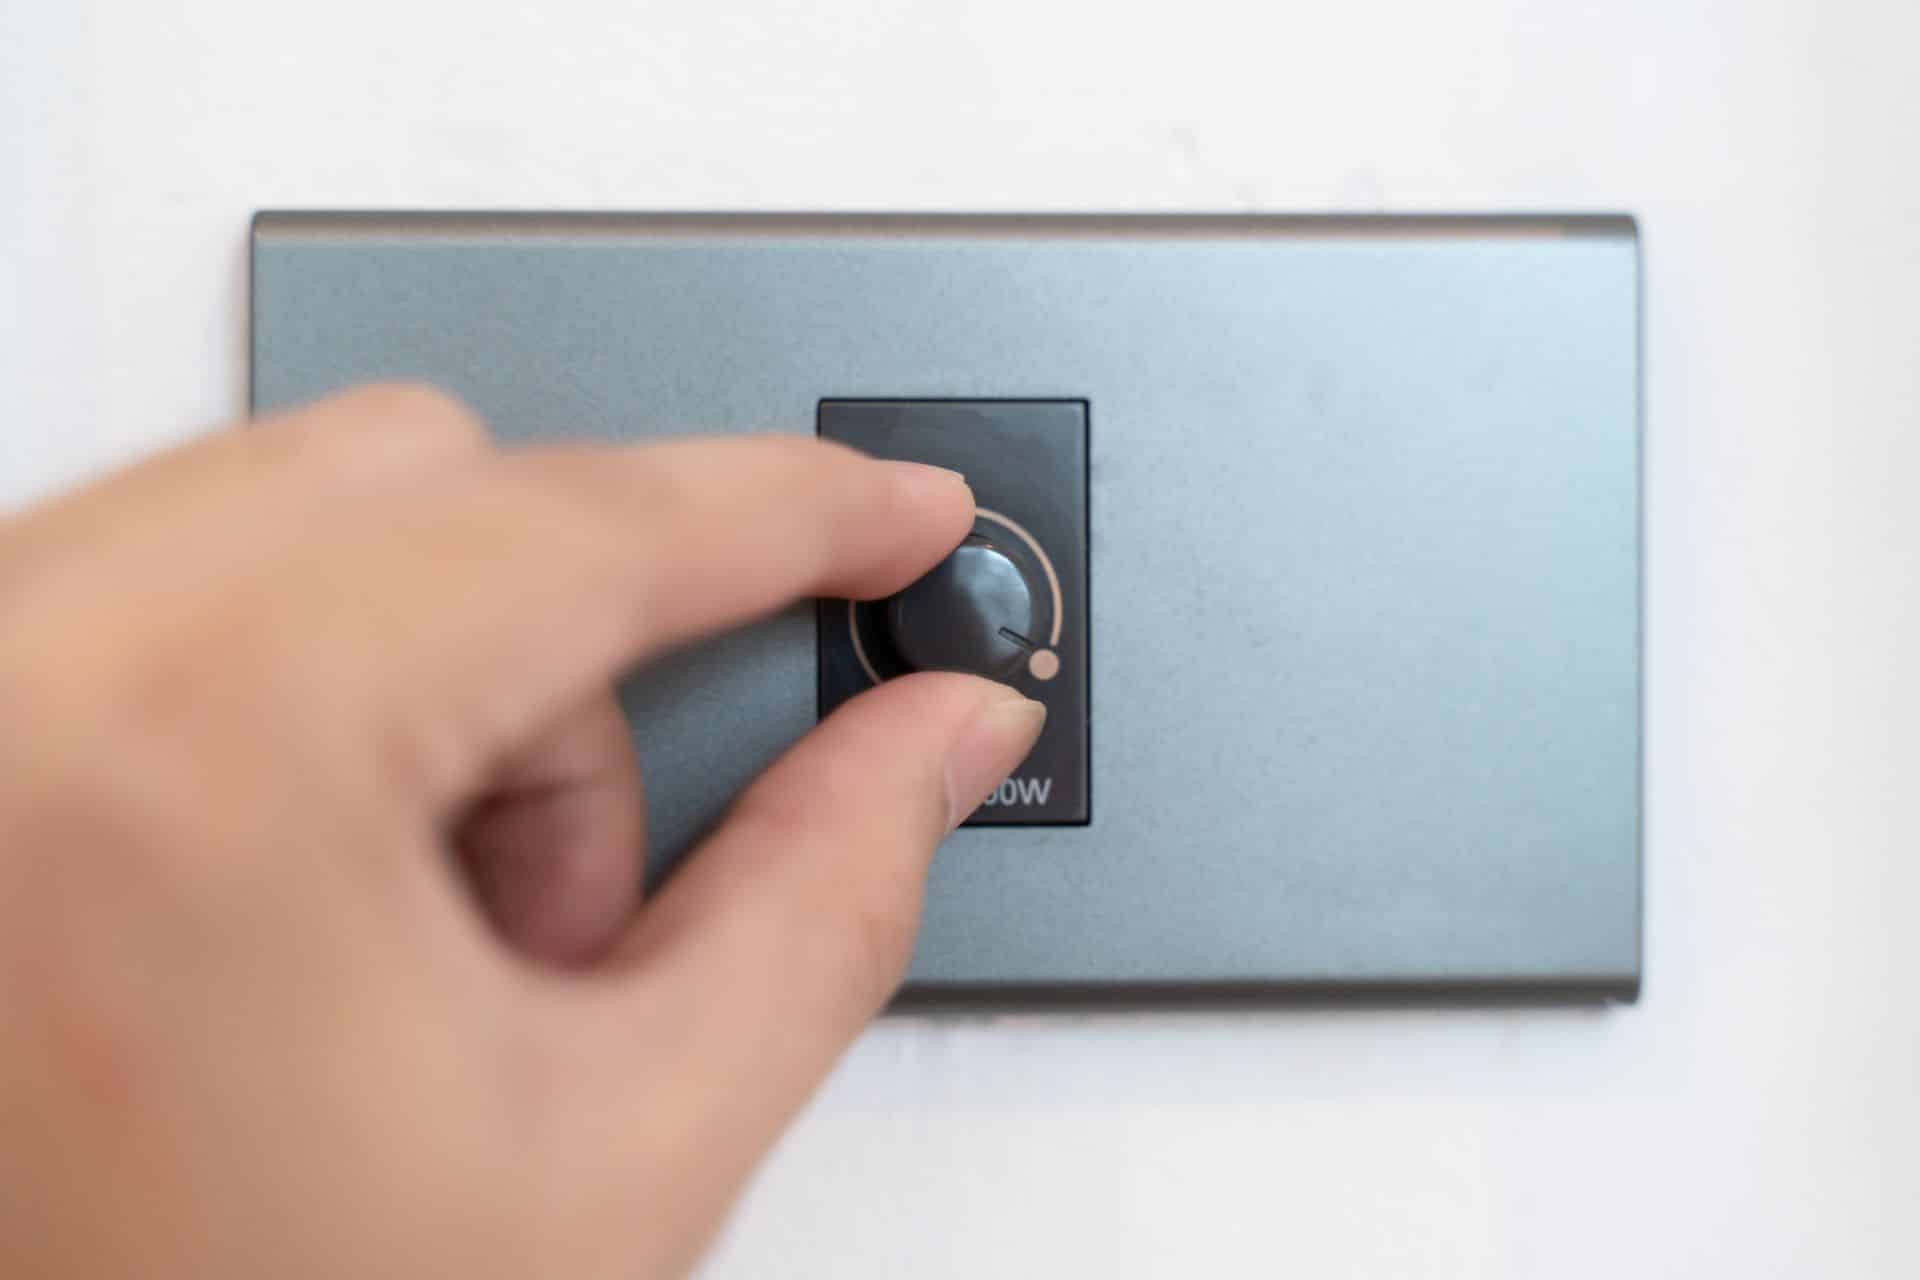
How a dimmer switch actually works
A dimmer does not reduce the voltage the way a resistor would. Instead it chops up each cycle of the alternating current, switching the power on and off dozens of times per second and varying how much of each cycle reaches the bulb. This technique is called phase-cut dimming, and it is why a dimmed bulb gets less average power while the peak voltage stays the same.
Most inexpensive dimmers use leading-edge (TRIAC) dimming, which was designed around old incandescent bulbs. LEDs respond very differently: their drivers draw power in short gulps and need far less of it, so an old-style leading-edge dimmer paired with modern LED bulbs is the classic recipe for flicker, buzzing, and bulbs that refuse to dim below half brightness.
The practical takeaway is simple. Always buy a dimmer rated for your bulb type. For LED downlights and retrofit bulbs, look for trailing-edge (also called reverse phase-cut) dimmers, or dimmers explicitly labelled LED-compatible or "CL". A dimmer designed for incandescent bulbs will dim LEDs badly no matter how carefully you wire it, so compatibility is decided at the store shelf, not at the switch box.
Picking the right dimmer for your setup
Start with the control layout. A single-pole dimmer replaces a switch that controls a light from one location only, which covers most bedrooms and living rooms. If the light is controlled from two switches (hallways, staircases, large rooms), you need a 3-way dimmer, and typically only one of the two switch locations gets the dimmer while the other stays a plain 3-way switch. Buy the wrong type and the wiring will not make sense, so check how many switches control the light before shopping.
Next, check the wattage rating. Dimmers are rated for a maximum load, commonly 150 to 600 watts, and that rating drops when dimmers sit side by side in a multi-gang box because they share heat. Add up the wattage of every bulb the dimmer will control and keep the total comfortably under the rating. With LEDs this is rarely a problem, since ten 10-watt bulbs are only 100 watts, but be aware of the opposite trap: LEDs can fall below the dimmer's minimum load, which causes the flicker-at-low-settings complaint so many people report. Some dimmers list a minimum load; others have an adjustable low-end trim you set after installation.
If you want app or voice control, smart dimmers are worth a look, but read the box carefully: many smart dimmers need a neutral wire in the switch box, and older homes often do not have one. Peek inside the box first (with the power off) or stick with a standard dimmer if you are unsure. A standard trailing-edge dimmer, matched to dimmable LED bulbs, is the reliable default for a first installation.
Safety first: the breaker stays off, and know when to stop
This is a mains-voltage job, so there is no improvising on safety. Before touching anything, find the breaker that controls the switch and turn it off. Then confirm it is dead with a non-contact voltage tester at the switch, checking every wire, not just one. Treat the wires as live until the tester proves otherwise, and if you have to step away mid-job, leave the breaker off.
Two situations mean you stop and call a licensed electrician instead of pushing ahead. The first is wiring you do not recognise: aluminium wiring, knob-and-tube, melted insulation, a box with no ground wire, or a tangle of colours that does not match black-hot, white-neutral, green-or-bare-ground. The second is a box that is too crowded or damaged to close safely, or a panel with no clearly labelled breaker. A dimmer installation should take under half an hour; if you find yourself guessing, that is the job telling you it is bigger than it looked.
One more safety note that matters more than people expect: the dimmer itself gets warm in normal use because it is switching current many times a second. It should never be hot. If a dimmer runs noticeably hot, buzzes loudly, or smells of warm plastic after installation, turn the breaker off and get a professional to look at it. That is not a quirk; it is a warning.
Tools and materials you will need
The tool list is short, which is part of the appeal. You need the new dimmer switch with its included wire nuts, a flathead and a Phillips screwdriver, a non-contact voltage tester, and optionally a pair of wire strippers and some electrical tape. The voltage tester is the one non-negotiable item: guessing about whether a circuit is dead is how people get hurt.
Grab a few extras that make the job easier. Your phone camera is a wiring diagram tool: photograph the existing switch and every wire before you disconnect anything, because ten minutes later you will not remember which black wire went where. A headlamp or work light helps enormously, since the room you are working in will be dark once the breaker is off. Painter's tape and a marker are handy for labelling wires in a 3-way box where several look identical.
Before you start, read the dimmer's installation sheet all the way through. Different models have different lead configurations: some have wire leads that connect with wire nuts, others have screw terminals like a regular switch, and smart dimmers may have a white neutral lead that a basic dimmer lacks. Five minutes with the sheet prevents the most common beginner mistake, which is treating the new dimmer like it wires exactly like the old switch.
Step-by-step: wiring the dimmer in
With the breaker off and the tester confirming dead wires, remove the faceplate screws and pull the cover off, then unscrew the old switch's mounting screws and ease it out of the box. Take your photo now. Then disconnect the wires from the old switch, noting which wire landed on which terminal. On a standard single-pole switch you will typically see two black (or one black and one red) wires on the terminals plus a green or bare ground wire.
Now connect the dimmer. For a dimmer with wire leads, match colours: the dimmer's two black leads join the two circuit wires (hot and load; on most basic single-pole dimmers these two leads are interchangeable, but check your sheet), and the dimmer's green lead joins the box's green or bare ground wire with a wire nut. If your dimmer has a white neutral lead, connect it to the white neutral wires in the box. Twist wire-nut connections firmly clockwise and give each a tug to confirm it holds; a loose wire nut behind a wall is a future arc fault.
Fold the wires back into the box carefully, avoiding sharp bends and making sure no bare copper is exposed outside the wire nuts. Mount the dimmer with its screws, attach the faceplate, then go restore power at the breaker. Test the full range: the light should come on smoothly, dim down to a low glow without cutting out, and sit stable at several levels. If your dimmer has a low-end trim adjustment, set it so the bulbs stay lit at the dimmer's lowest position. Screw everything down snug, and the job is done.
Troubleshooting: flicker, buzzing, and lights that will not go low
Flickering is the number one post-installation complaint, and it is almost always a compatibility problem, not a wiring mistake. The usual fix chain runs like this: first confirm every bulb is marked dimmable, because non-dimmable LEDs flicker on any dimmer. Then check that the bulbs are a quality brand known to work with your dimmer model; many dimmer makers publish compatibility lists online. Finally, try the low-end trim adjustment, since bulbs dropping out at the bottom of the range often just need the minimum raised.
Buzzing can come from two places: the dimmer or the bulbs. A faint hum from the dimmer itself is normal on some models, but a loud buzz suggests the dimmer is struggling with the load, often because it is an old leading-edge unit driving LEDs. Buzzing from the bulbs points the same direction. Swapping to a trailing-edge or LED-rated dimmer fixes both in most cases.
If the lights dim but never go truly low, or jump from dim straight to off, the minimum-load issue is back: the total wattage is too small for the dimmer to regulate. Adding bulbs to the circuit, switching to a dimmer with a lower minimum load, or using the trim adjustment usually resolves it. And if anything behaves erratically in a way none of this explains, especially intermittent dead spots or warmth at the switch, turn the breaker off and call an electrician. A dimmer should be boring once installed; anything exciting is a problem.