How to Install a Smart Thermostat: The C-Wire Problem, Explained
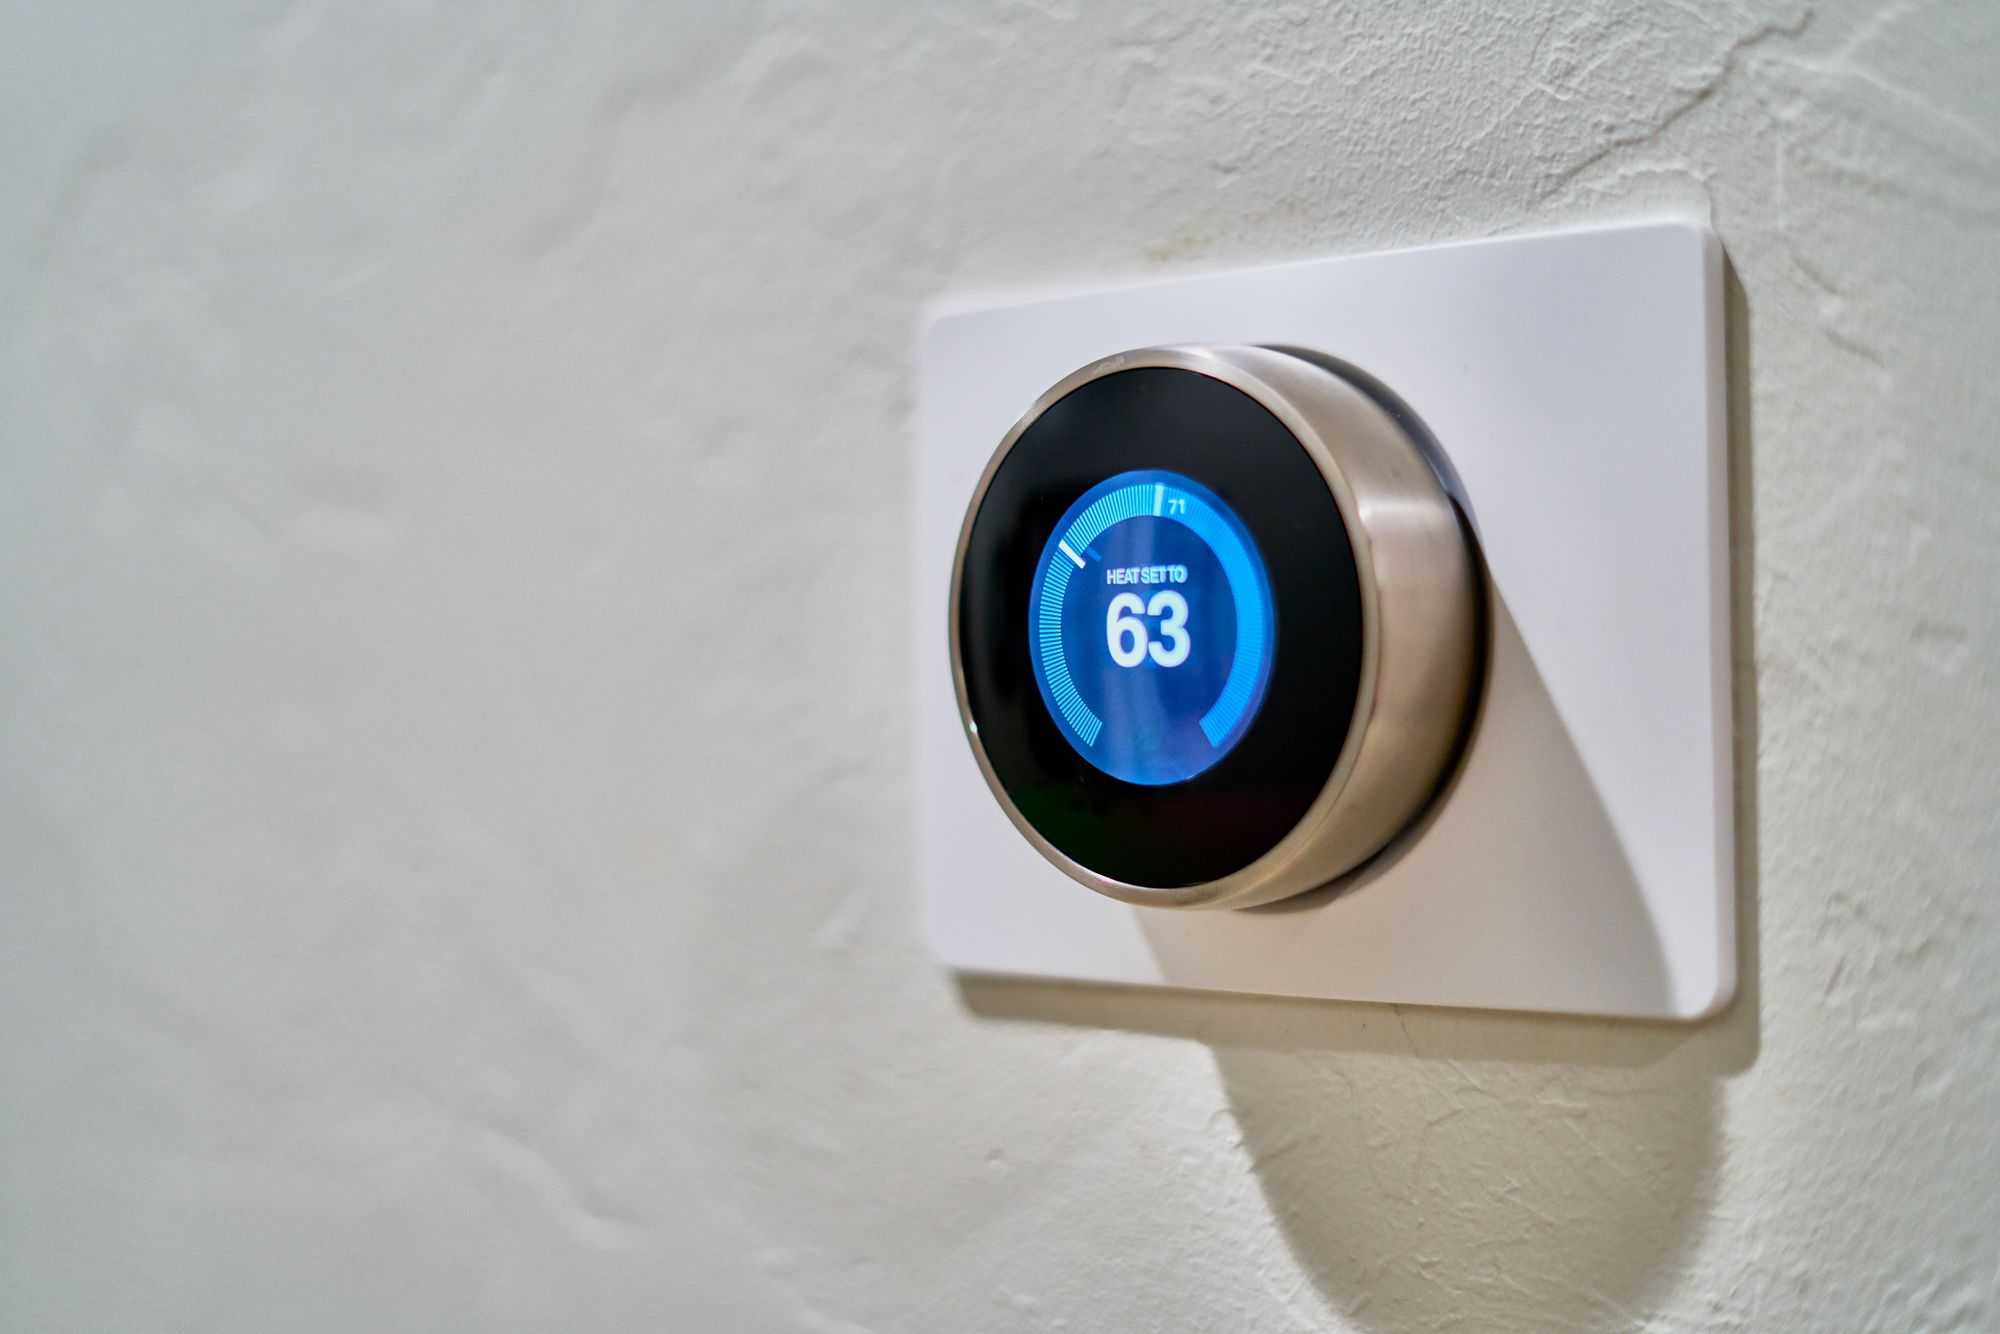
What the C-wire actually does (and why old thermostats survived without one)
Old thermostats were glorified switches. Four low-voltage wires ran between the thermostat and the furnace: R carried 24 volts of power, W called for heat, Y called for cooling, and G ran the fan. The thermostat simply connected R to whichever function you wanted, like a light switch completing a circuit. It needed no power of its own, so a pair of AA batteries or a tiny trickle of "power stealing" kept the clock and display alive.
A smart thermostat is a different animal. It runs Wi-Fi, a colour display, motion and temperature sensors, and a small processor, all of which need continuous 24-volt AC power. The C-wire (common) is the return path that completes the 24-volt circuit from the furnace transformer, giving the thermostat a steady power supply without stealing trickles through the heating wires. Without it, the classic symptoms appear: the thermostat reboots randomly, Wi-Fi drops out, the screen shows endless "delay" messages, the furnace short-cycles, or the unit simply refuses to power on at all.
One safety note before we go further. This is 24-volt low-voltage wiring, not mains electricity, so it will not shock you the way a wall outlet can. But carelessness still costs money: short R to C and you can blow the small fuse on the furnace control board (usually a 3-amp automotive-style fuse) or cook the transformer itself. Always kill power at the breaker first, and treat the furnace control board with the same respect you would give any electrical panel.
Step 1: check what wires you already have
Start with the power off at the breaker for the furnace or air handler, then pop the thermostat off its wall base. Before touching a single wire, photograph everything from two angles. Standard wire colours are R for red (24V power), W for white (heat call), Y for yellow (cooling), G for green (fan), and C is usually blue or black (common). Colours are a convention, not a law, especially in older homes, so trust the terminal letters, not the colours.
Now count. If there is already a wire landed on the C terminal, you have passed the hard part and can install per your thermostat's instructions. The classic "missing C-wire" house has four wires on R, W, Y and G with the C terminal empty. Also note any extras: W2 or Y2 for two-stage systems, and O/B for heat pumps. Label every wire with tape before you disconnect anything; a photo plus labels is the cheapest insurance in this whole project.
It is worth checking the furnace end too. With the power still off, open the furnace or air-handler panel and find the control board's thermostat terminals, printed as R, W, Y, G and C. Sometimes the C terminal exists on the board with nothing connected to it, which tells you the system supports a common wire even if the thermostat end was never hooked up. Take a photo of the board wiring as well; you will need it later.
Step 2: look for a hidden or spare C-wire
Many homes were wired with 5-conductor (or thicker) thermostat cable, and the installer simply connected only four of the wires. Gently pull the cable a few centimetres out of the wall behind the thermostat and look at the bundle: there is often a blue or brown wire folded back and taped off, never used. That spare is your C-wire, already installed for free.
If you find one, strip about a centimetre of insulation, land it on the C terminal of the new thermostat base, then go to the furnace board and land the same-coloured wire on the C (or COM) terminal there. Restore power and check that the thermostat reports healthy power; most models show voltage or battery status in their settings menus during setup. If the thermostat boots cleanly and stays connected to Wi-Fi, you are done with wiring.
If there is no spare wire, do not despair; the next section covers the real fixes. One temptation to resist: do not simply repurpose the G (fan) wire as your C-wire without understanding the trade-off. You lose independent fan control, and on some control boards the missing G confuses the system into odd behaviour. There are cleaner solutions that keep every function working.
No C-wire? Four fixes, ranked from easiest to most involved
Option one is a power extender or add-a-wire kit, and it is the fix most homeowners should choose. These small modules wire into the furnace control board and multiplex the signals over your existing four wires, effectively creating a common wire out of thin air. Ecobee includes one free with its thermostats, and universal kits work with most other brands. Installation takes about 30 minutes, requires no new cable through walls, and preserves every function including the fan.
Option two is a plug-in 24-volt transformer, the renter-friendly hack. A small transformer plugs into a nearby wall outlet and its two wires land on the thermostat's Rc and C terminals, while the existing heating wires stay on their own terminals. No furnace work at all, and it is completely reversible. The downsides are a visible wire run down the wall and a transformer permanently occupying an outlet.
Option three is choosing a thermostat that tolerates no C-wire, running on batteries or power stealing. This is the simplest route because you skip the furnace room entirely, but it is the least reliable: power stealing can cause relay chatter, phantom cycling and mysterious reboots on some furnaces. Fine as a stopgap, questionable as a permanent install.
Option four is running new thermostat cable, typically 18/5 or 18/8, from the furnace to the thermostat location. This is the permanent, professional answer, but it means fishing cable through walls, which is an afternoon's work and sometimes a job for an HVAC technician. If your walls are ever open during a renovation, always run 18/8; the spare conductors cost almost nothing now and future-proof you for every thermostat that comes next.
Installing the thermostat: the step-by-step
With the furnace breaker still off, remove the old thermostat base and mount the new one level on the wall. Transfer the wires one at a time from your labelled photo: each wire must land on the same letter terminal it came from at the old thermostat, and the letters must match at the furnace board end too. If you added a spare C-wire or an extender kit at the furnace, wire that end first, double-checking each connection against the board's printed labels.
Loose strands are the classic cause of a blown board fuse on first power-up, so inspect every terminal: no stray copper touching the neighbouring terminal, and give each wire a gentle tug to confirm it is gripped. Then restore power at the breaker and let the thermostat boot. Most models walk you through Wi-Fi setup and then ask about your system type; answer carefully, because the thermostat behaves very differently for forced air, boilers and heat pumps.
For heat pumps, the critical setting is the O/B reversing valve, which decides whether the system heats or cools when energised; get it wrong and your heat pump will cool the house when you call for heat. Then run a full test cycle: call for heat, wait for the furnace to fire and the blower to run, then switch to cooling and confirm the outdoor unit starts. Finally, check the thermostat's power reading over a few hours. A stable voltage and no reboots means the C-wire job is genuinely finished.
When to stop and call a professional
This guide covers standard 24-volt forced-air systems and simple heat pumps, which is the great majority of homes. Stop and call an HVAC technician if you find line-voltage (120 or 240-volt) thermostats, common with electric baseboard heating; that is mains wiring and a different job entirely, not a smart-thermostat swap. Also call if your system uses a proprietary communicating thermostat with digital bus wiring instead of R, W, Y, G and C terminals; smart thermostats cannot replace those directly.
Other red flags: scorched or melted terminals on the control board, a board fuse that blows repeatedly, any smell of burning near the furnace, or wiring that does not match any diagram you can find. A 30-minute service visit is dramatically cheaper than a fried control board, and a good technician will happily explain what they are doing.
And the golden rule applies to low-voltage work too: breaker off before you touch anything, confirm the equipment is truly dead (no hum from the furnace, no display lit), and never work inside a panel you are not comfortable with. Electricity, even at 24 volts, rewards patience and punishes rushing.